28 Apr 2023 ~ 2 June 2023 / Week 4 ~ Week 9
Lee Kai Jin / 0354707 / Bachelors of Mass Communication (Hons) (Digital Media
Production)
Digital Photography and Imaging / Taylor's University
Task (Exercises / Project):
Project 2
- Poster
- Double Exposure
LECTURES
Week 4 (Fri, 7 Apr 2023): Blend Mode
The lecture of today is about how to use blend mode to blend two picture together naturally without using masking or select out the object which takes a lot of time.
 |
| L_4.0, Bird in sky, week 4 |
 |
| L_4.1, Simply crop put the bird and put in another picture, week 4 |
 |
| L_4.2, Experiment the suitable blend mode that looks most natural, week 4 |
 |
| L_4.3, The same technique and blend the "smoke" with the cup, week 4 |
This technique is also applicable in making "fake" light source.
Week 5 (Fri, 5 May 2023): Double Exposure
Before we begin the class of today, we have to do a brief research on
a. What is double exposure?
b. What is digital double exposure?
c. Share 3 good double exposure
According to verified result online,
a. Double exposure is a technique used in photography and design that involves combining two or more images to create a single, layered composition. In traditional film photography, double exposure involves exposing the same section of film twice to create a single image. In digital design, this effect is achieved through layering and blending multiple images together in software like Photoshop.
b. Digital double exposure is a modern take on the traditional double exposure technique, which is achieved using digital image editing software such as Adobe Photoshop. It involves combining two or more digital images to create a single composition, often with a surreal or dreamlike effect. Digital double exposure allows designers to experiment with various combinations of images, adjust colors, blend modes, and other parameters to create unique and striking visual effects.
Here are some example of double exposure from Pinterest:
Below is the practical session:
 |
| L_5.3, Mask out the portrait first using selection tool and layer mask, week 5 |
 |
| L_5.4, Put a different colour background, week 5 |
 |
| L_5.5, Add in the "forest" picture, week 5 |
 |
| L_5.6, Select the "forest" layer as clipping mask, week 5 |
 |
| L_5.7, Set the background colour, week 5 |
 |
| L_5.8, In the "forest" layer, create a mask and show the face, week 5 |
Refine the face using brush (flow around 50%) so that it would not be too "harsh" and create a semi-transparent and soft effect. After that, duplicate the layer and create a flip (reflection) layer. Clean up the "dirty" or parts that do not want using mask and brush.
 |
| L_5.9, Reflection layer, week 5 |
 |
| L_5.10, Refine using brush and mask, week 5 |
 |
| L_5.11, Add in some other elements, week 5 |
 |
| L_5.12, Blend and adjust position and size, week 5 |
 |
| L_5.13, Done, week 5 |
 |
| L_5.14, Version 2 (with gradient map), week 5 |
Week 6 (Fri, 12 May 2023): Digital Photography
The lecture of today is about the basic skills and things to know for photography including ISO, aperture and shutter speed.
The practical of today is to blend two images together (with the more professional way).
 |
| L_6.0, Malaysia flag, week 6 |
 |
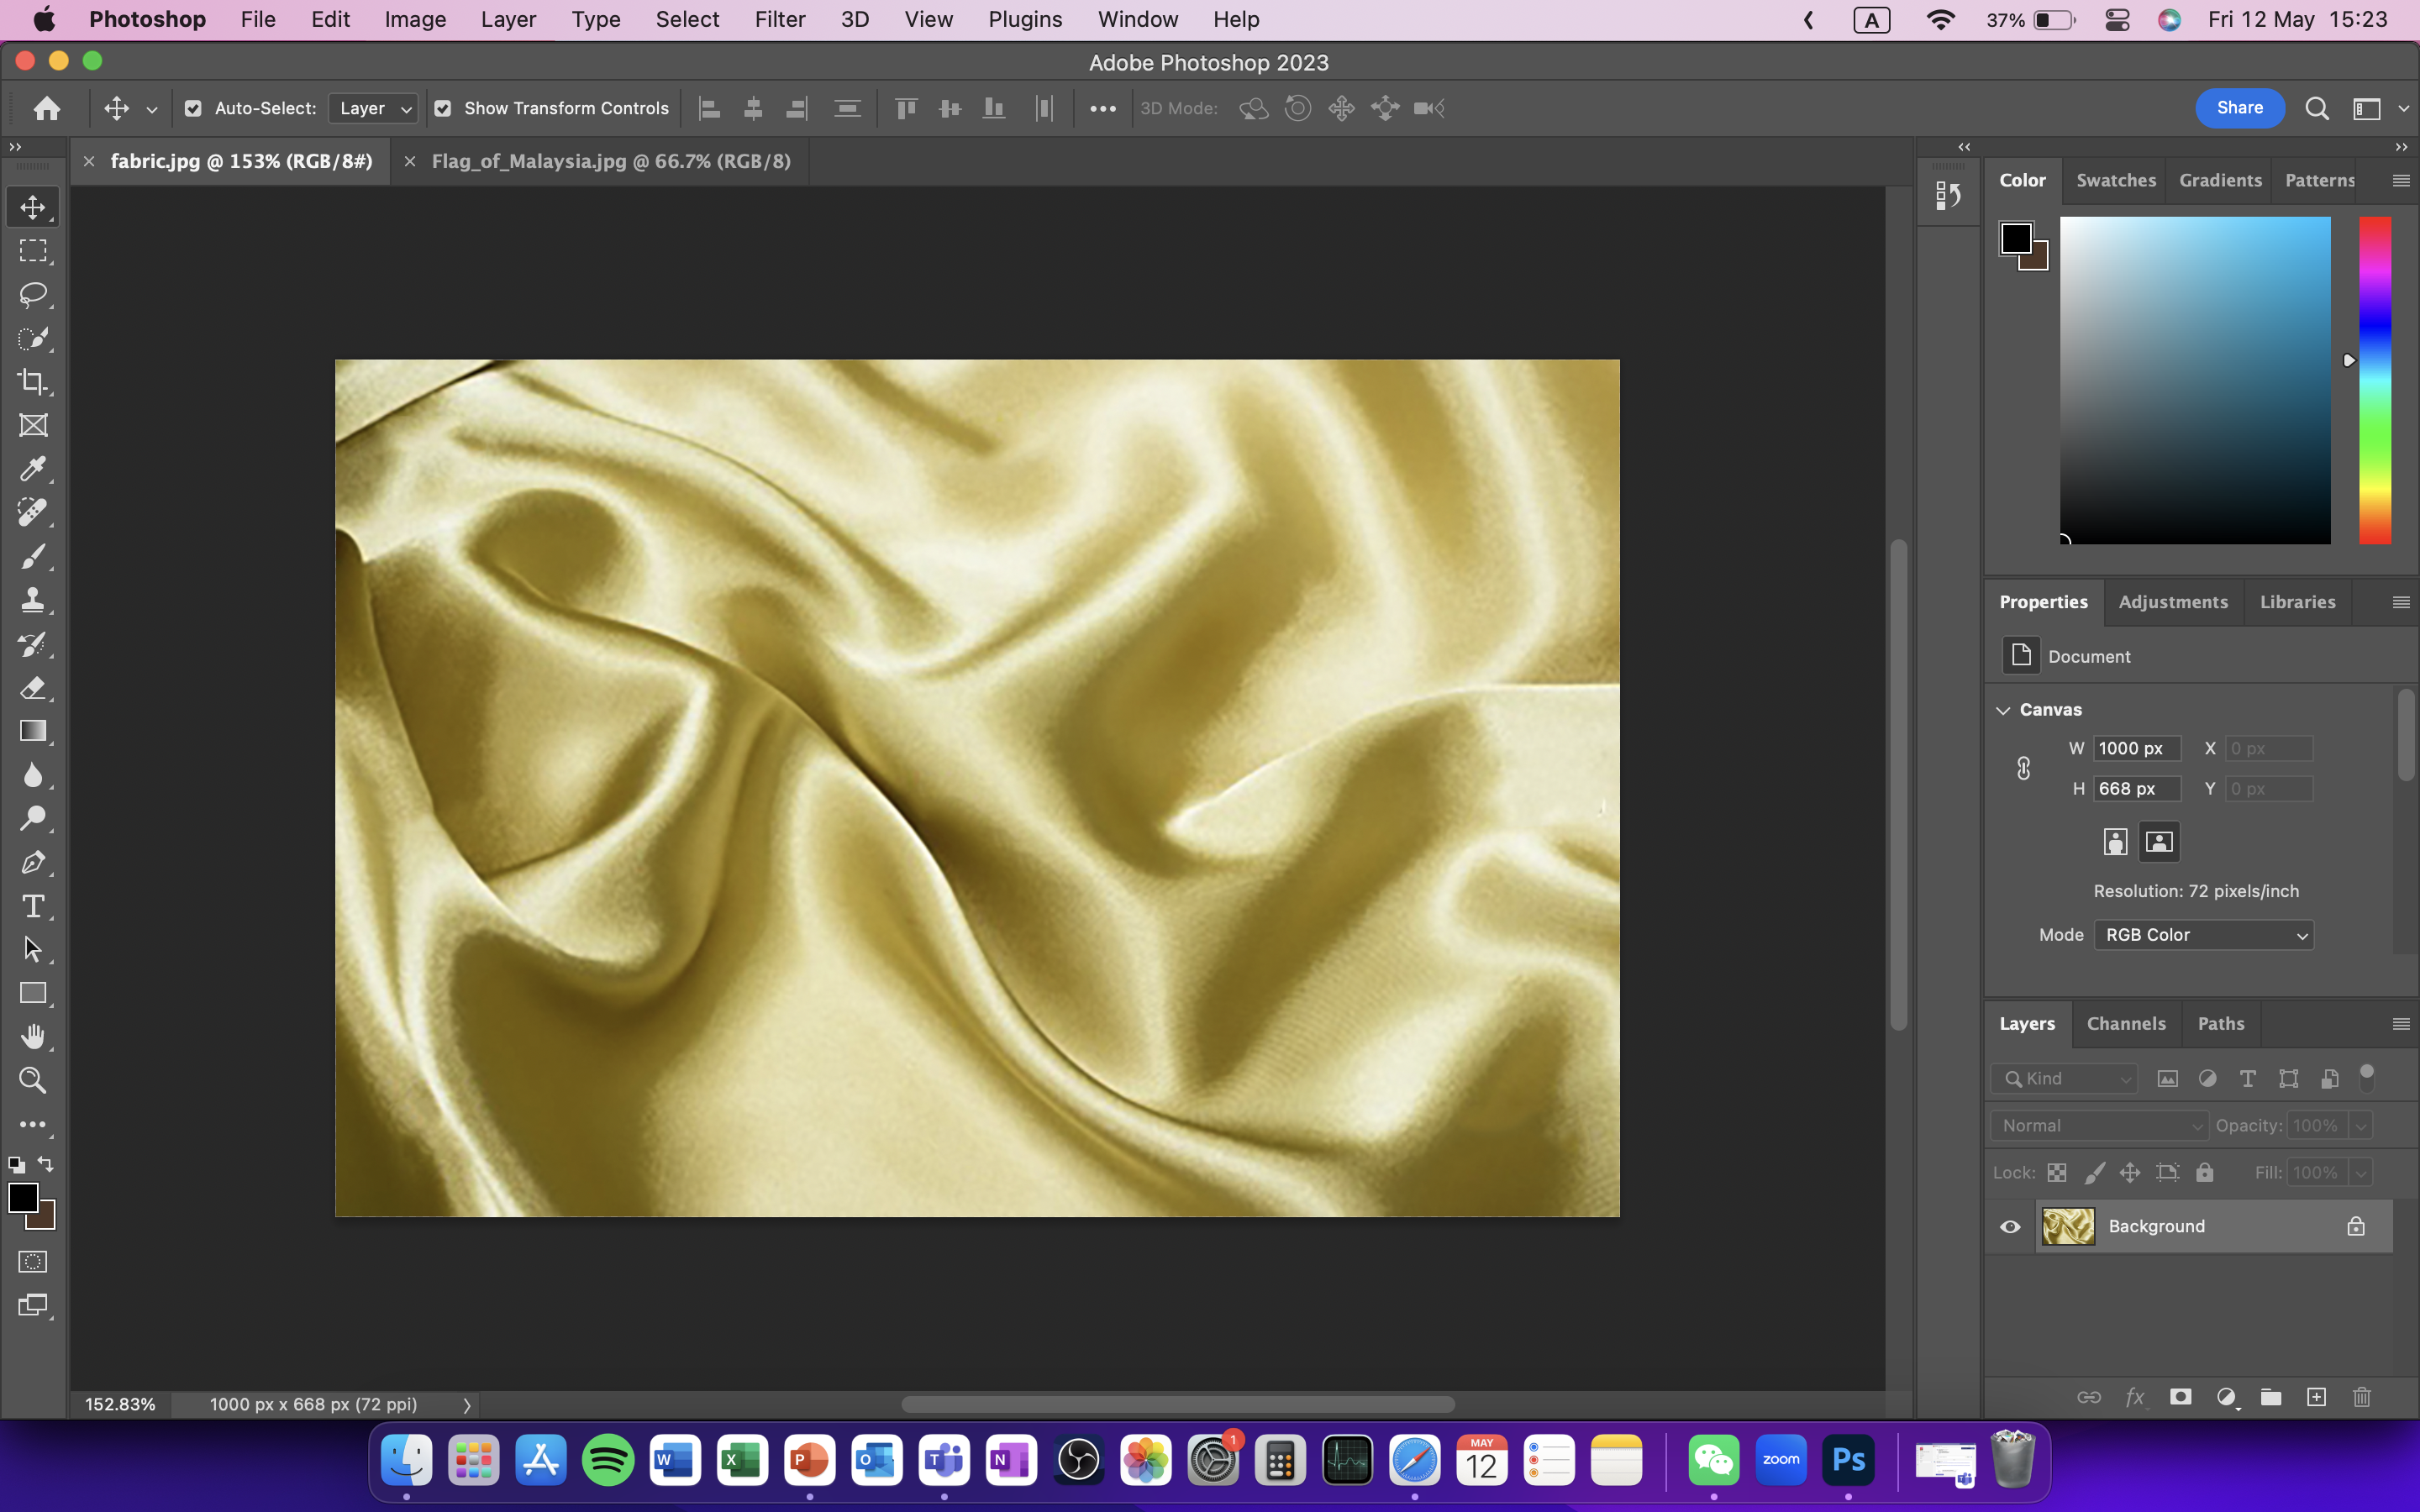
| L_6.1, Fabric, week 6 |
 |
| L_6.2, Example of bad blend, week 6 |
In order to do something like this, we need 3 conditions:
- must be black and white
- must be is Photoshop format
- must be not too sharp/HD
 |
| L_6.3, Make it black and white, blur a bit, save as .psd, week 6 |
Back to layers like
L_6.2, convert the flag layer into smart object (can see what filter applied on the particular layer.).
 |
| L_6.7, Try for another picture, week 6 |
 |
| L_6.8, Turn it black and white, blur a bit, week 6 |
 |
| L_6.9, Import the Liverpool logo, week 6 |
 |
| L_6.10, Displace and blend (like a sticker), week 6 |
 |
| L_6.11, Another style, week 6 |
 |
| L_6.12, Use it as face paint and mask, week 6 |
 |
| L_6.13, Replace the cat skin with this giraffe skin, week 6 |
 |
| L_6.14, Result, week 6 |
 |
| L_6.15, Mask out the eyes, ears and nose, week 6 |
Before the class end, we are required to take 4 portrait with our phone with the lens or mode below:
- Wide (0.5 or below)
- Normal (1.0)
- Long (2.0 or above)
- Portrait mode
Week 7 (Fri, 19 May 2023): Digital Photography
(On leave)
Week 8 (Fri, 26 May 2023): Independent Learning Week
INSTRUCTIONS
POSTER DESIGN
Before we officially start the poster design process, Mr. Martin provided a template for us to gather and brainstorm the idea.
 |
| I_PD_4.0, Assignment brief, week 4 |
After a simple research online, here is my result
 |
| I_PD_4.1, Idea development, week 4 |
 |
| I_PD_4.2, Idea development on Pinterest, week 4 |
Here are 2 of my sketches.
 |
| I_PD_5.1, Sketch #1, week 5 |
 |
I_PD_5.0, Sketch #2, week 5
|
 |
| I_PD_6.0, Digital draft #1, week 6 |
 |
I_PD_6.1, Digital draft #2, week 6
|
I think draft #2 is good enough so I decided to proceed with sketch #2 instead.
 |
| I_PD_6.2, Original element of draft #2, week 6 |
 |
| I_PD_6.3, Original element of draft #2, week 6 |
 |
| I_PD_6.4, Original element of draft #2, week 6 |
To make the combination of photo more realistic, first at first, I make the hand blend well with the background.
 |
| I_PD_7.0, Add some noise, week 7 |
 |
| I_PD_7.1, Lower the saturation, week 7 |
The corner in between two images at the top side looks really bad.
 |
| I_PD_7.2, Edges between two images, week 7 |
 |
| I_PD_7.3, Adjustment on corner, week 7 |
Even after the adjustment, the edges is still very strong because two images have a very big contrast.
 |
| I_PD_7.4, Change photo instead, week 7 |
 |
| I_PD_7.5, Decrease the brightness and increase the contrast, week 7 |
 |
I_PD_7.6, Mask out the sky, week 7
|
 |
I_PD_7.7, Replace the sky with a more beautiful one, week 7
|
 |
| I_PD_7.8, The result looks good, week 7 |
 |
| I_PD_7.9, Refining edges using mask and brush tool, week 7 |
 |
| I_PD_7.10, Blur the background to enhance the phone screen, blur the car number plate, week 7 |
 |
I_PD_8.0, Add in title and text, ver. #1, week 8
|
 |
I_PD_8.1, Ver. #2, week 8
|
Final Submission of Poster
 |
| Final Submission of Poster (.jpg) |
Final Submission of Poster (.pdf) |
| I_DE_5.0, Create a 1080x1920 art board in Adobe PS, week 5 |
 |
| I_DE_5.1, The portrait of me, week 5 |
 |
| I_DE_5.2, Remove the background, week 5 |
 |
| I_DE_5.3, Turn it black and white, week 5 |
 |
| L_DE_5.4, Put the whale in the mask, week 5 |
 |
| I_DE_5.5, Blending mode, week 5 |
 |
| I_DE_5.6, I would like to replace my hoodie with the fish, week 5 |
 |
| I_DE_5.7, Remove the black background of the fist, week 5 |
 |
| I_DE_5.8, Replace the hoodie with fish, week 5 |
 |
| I_DE_5.9, Refine the edge, week 5 |
 |
| I_DE_5.10, I replace the whale with sea turtle because I feel like it looks better, week 5 |
 |
| I_DE_5.11, I want to put a shark at the top blank space, week 5 |
 |
| I_DE_5.12, A shark shape, week 5 |
 |
| I_DE_5.13, Fill the shark with undersea picture, week 5 |
 |
| I_DE_5.14, Turn the black and white into undersea theme gradient colour, week 5 |
 |
| I_DE_5.15, Put the mask back into the whale, put the sea turtle in the hair part, week 5 |
 |
| I_DE_5.16, Turn the background into blueish colour, week 5 |
Final Submission of Double Exposure
 |
| Final Submission of Double Exposure (.jpeg) |
Final Submission of Double Exposure (.pdf)
FEEDBACK
Week 6: Poster review
General Feedback: Make it more creative.
Specific Feedback: Make the poster look more attractive by add in elements that is not easy been created by taking photo since it is Photoshop.
REFLECTIONS
Experience:
Fun experience in using Photoshop to create illustrations that is impossible in real life.
Observations:
Photoshop is not as difficult as I think.
Findings:
Nothing is limited in Photoshop as well as we can think of.
FURTHER READING
Photoshop CC Bible by Lisa DaNae Dayley
 |
| FR_1.0, Photoshop CC Bible by Lisa DaNae Dayley |
This book introduced some tips or "hacks" in Photoshop to achieve some effect easily.


Comments
Post a Comment